Introduction to NPW Poultry Plucking Machine Fingers
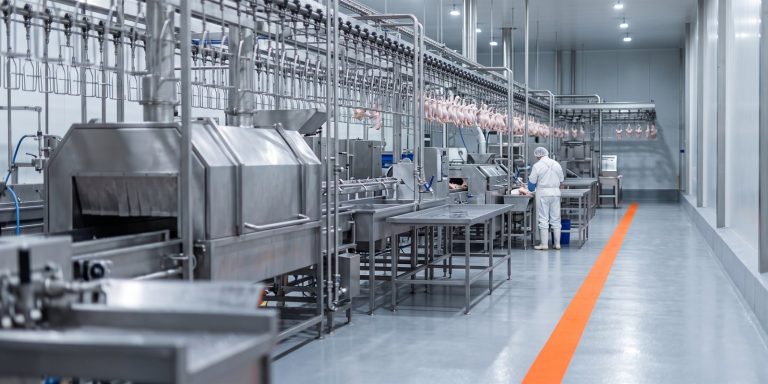
In the poultry processing industry, the efficiency and hygiene of the plucking stage are critical to overall throughput and product quality. NPW’s integrated slaughter lines feature high-performance plucking machines designed to handle large volumes of birds with minimal labor. Central to the effectiveness of these machines are the plucking fingers (also known as plucker fingers or rubber pins), which are engineered to remove feathers quickly and thoroughly without damaging the skin. This article provides a detailed, step-by-step installation demonstration for NPW plucking fingers, ensuring your equipment operates at peak performance.
Why Proper Installation Matters
Correct installation of plucking fingers is essential for several reasons:
- Optimal Feather Removal: Misaligned or loose fingers can leave residual feathers, reducing product quality.
- Extended Equipment Life: Properly seated fingers reduce wear on the drum and bearings, minimizing downtime.
- Hygiene Compliance: Securely fitted fingers prevent the accumulation of debris and bacteria, supporting food safety standards.
- Worker Safety: A well-maintained plucking machine reduces the risk of accidents during operation.
Step-by-Step Installation Demonstration
The following steps mirror the official NPW installation demonstration, suitable for all models of our plucking machines.
Preparation and Safety
Before beginning, ensure the machine is completely powered off and locked out. Gather the necessary tools, typically a rubber mallet and a screwdriver. Wear protective gloves to prevent injury from sharp edges.
Removing Old Fingers
If replacing worn fingers, use the screwdriver to gently pry out the old ones. Inspect the drum holes for any debris or damage. Clean the holes thoroughly to ensure a snug fit for the new fingers.
Inserting New Fingers
Take a new NPW plucking finger and align it with the hole on the drum. The finger has a tapered end that should be inserted first. Push it in by hand until it is partially seated. Then, using a rubber mallet, gently tap the finger until it is fully seated flush with the drum surface. Avoid striking too hard, as this can damage the finger or the drum.
Checking Alignment
After installation, rotate the drum manually to ensure all fingers move freely without obstruction. Verify that each finger is securely seated and that there are no gaps where feathers could accumulate. For machines with multiple drums, repeat the process for each drum.
Final Inspection and Testing
Once all fingers are installed, conduct a visual inspection of the entire plucking unit. Start the machine briefly at low speed to check for any unusual vibrations or noises. If any finger appears loose or misaligned, stop the machine and re-seat it.
Maintenance Tips for Longevity
- Regularly inspect fingers for signs of wear, such as cracking or hardening.
- Replace fingers in sets to maintain balanced plucking action.
- Keep spare fingers in stock to minimize downtime during peak production.
- Follow NPW’s recommended maintenance schedule for your specific machine model.
Why Choose NPW Plucking Fingers?
NPW plucking fingers are manufactured from high-quality, food-grade rubber that is durable, flexible, and resistant to the harsh conditions of poultry processing. They are designed to provide consistent pressure for effective feather removal while being gentle on the bird’s skin. Our fingers are compatible with a wide range of plucking machines, including those in our integrated slaughter lines, ensuring you get the best performance from your equipment.
Conclusion
Proper installation of plucking fingers is a simple yet vital maintenance task that directly impacts the efficiency and hygiene of your poultry processing operation. By following this step-by-step demonstration, you can ensure your NPW plucking machine operates at its best, delivering high-quality results and maximizing your return on investment. For more detailed guidance or to order replacement fingers, contact your NPW representative today.
“Invest in proper maintenance to keep your processing line running smoothly.”
Solutions related to this article
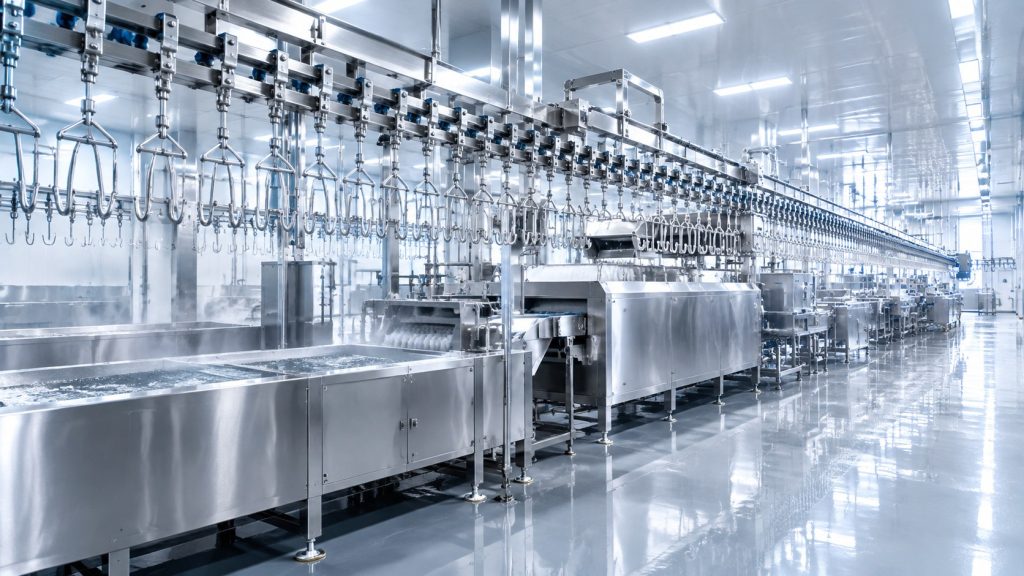 PoultryComplete Poultry Slaughter Line SolutionsHanging, scalding, plucking, evisceration and chilling on one continuous line.View solution →
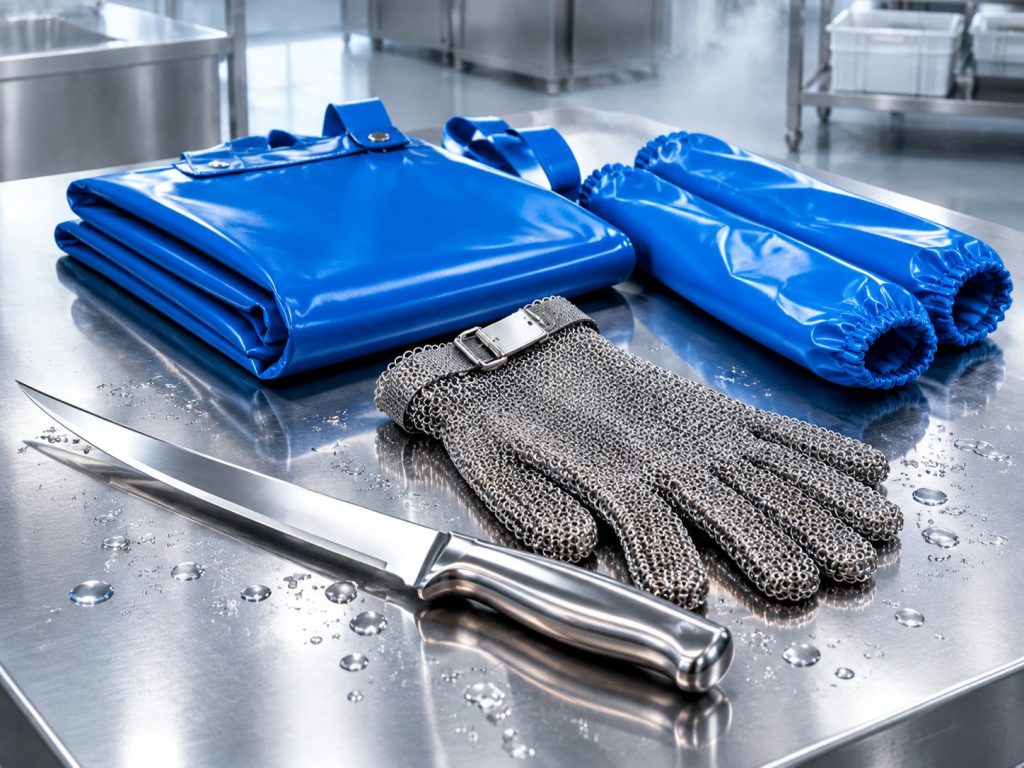 PPE & KnivesProtection, Cutting & Hygiene SolutionsKnives, aprons, gloves and hygiene kit for the kill floor and cutting room.View solution →
 CleaningFood Industry Cleaning Equipment SolutionsFoam, CIP and washdown systems for food-contact surfaces and drains.View solution →