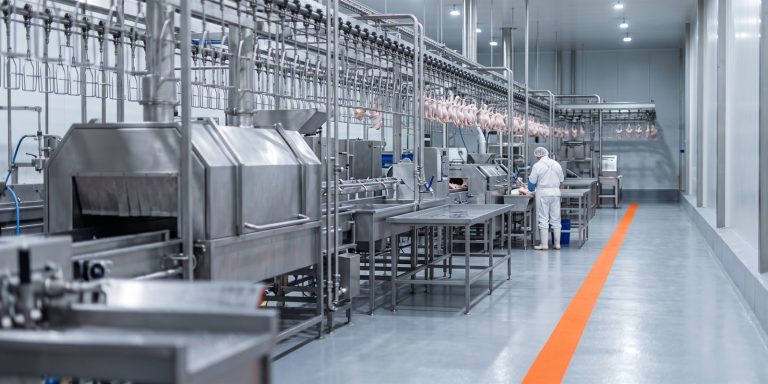
Rubber fingers are the hardest-working consumable on any poultry plucking machine. Their mounting angle, spacing and tension decide how cleanly feathers release from the skin — and how many birds your line can process per hour without rework. This installation demonstration from NPW walks operators through the correct way to fit rubber rods onto a plucking drum or bowl so that every carcass is plucked evenly, batch after batch.
Why Rubber Finger Installation Decides Plucking Quality
Each rubber finger works like a flexible beater. When the drum spins, the fingers flick against the carcass and pull feathers out without tearing the skin. If a finger is loose, over-driven, or mounted at the wrong angle, feather removal becomes uneven: some areas are bald while others still carry pinfeathers and broken quills. Poor installation also causes vibration, premature rubber fatigue and a much higher spend on spare parts.
Prepare the Machine and Consumables
- Switch off and lock out the plucking machine; wait until the drum has fully stopped.
- Wear cut-resistant gloves — mounting holes and metal edges are sharp.
- Inspect every NPW rubber finger for cracks, hardening or worn tips, and reject damaged parts.
- Confirm the correct finger length and hardness for the species being processed (broiler, duck, goose or turkey).
- Clean the drum surface and remove old rubber residue and feather build-up.
Step-by-Step Rubber Finger Installation
- Seat the base: push the rubber finger into the mounting hole until the flange sits flush against the drum plate.
- Pull the tail through: from inside the drum, grip the stem and pull steadily until the locking collar snaps firm.
- Check the angle: fingers should lean slightly in the direction of rotation — a 10–15° forward tilt is typical.
- Stagger the rows: alternate hole positions so no two neighbouring fingers strike exactly the same spot.
- Verify spacing: uniform gaps prevent dead zones where feathers are left behind.
Trial Run and Quality Check
Once all fingers are fitted, rotate the drum by hand for one full turn to confirm clearance and alignment. Run the machine empty for two to three minutes, listening for unbalanced vibration, then process five to ten birds. Inspect skin integrity, remaining pinfeathers and quill residue at the wings, neck and vent — the areas that reveal installation errors first. Adjust spacing before running full production.
Correct rubber finger installation is the cheapest quality upgrade on a poultry slaughter line — it costs nothing but a few minutes of attention.
Maintenance and Replacement Cycles
Rubber fingers are consumables: check them weekly, rotate worn fingers between high- and low-wear positions, and replace them in complete sets to keep plucking balance even. NPW supplies food-grade rubber fingers, plucking drums, scalding and plucking combined machines, and complete integrated slaughter lines engineered for consistent hygiene and throughput. Contact the NPW team at npwplastic.com for matched spare parts and installation support.
Solutions related to this article
 PoultryComplete Poultry Slaughter Line SolutionsHanging, scalding, plucking, evisceration and chilling on one continuous line.View solution →
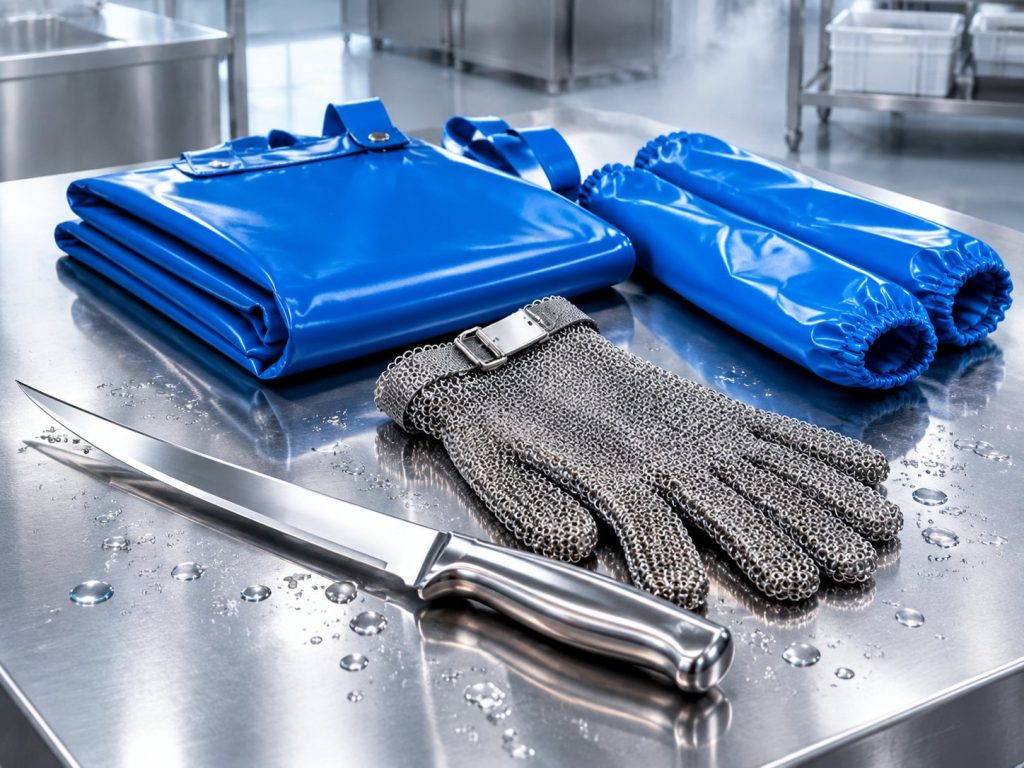 PPE & KnivesProtection, Cutting & Hygiene SolutionsKnives, aprons, gloves and hygiene kit for the kill floor and cutting room.View solution →
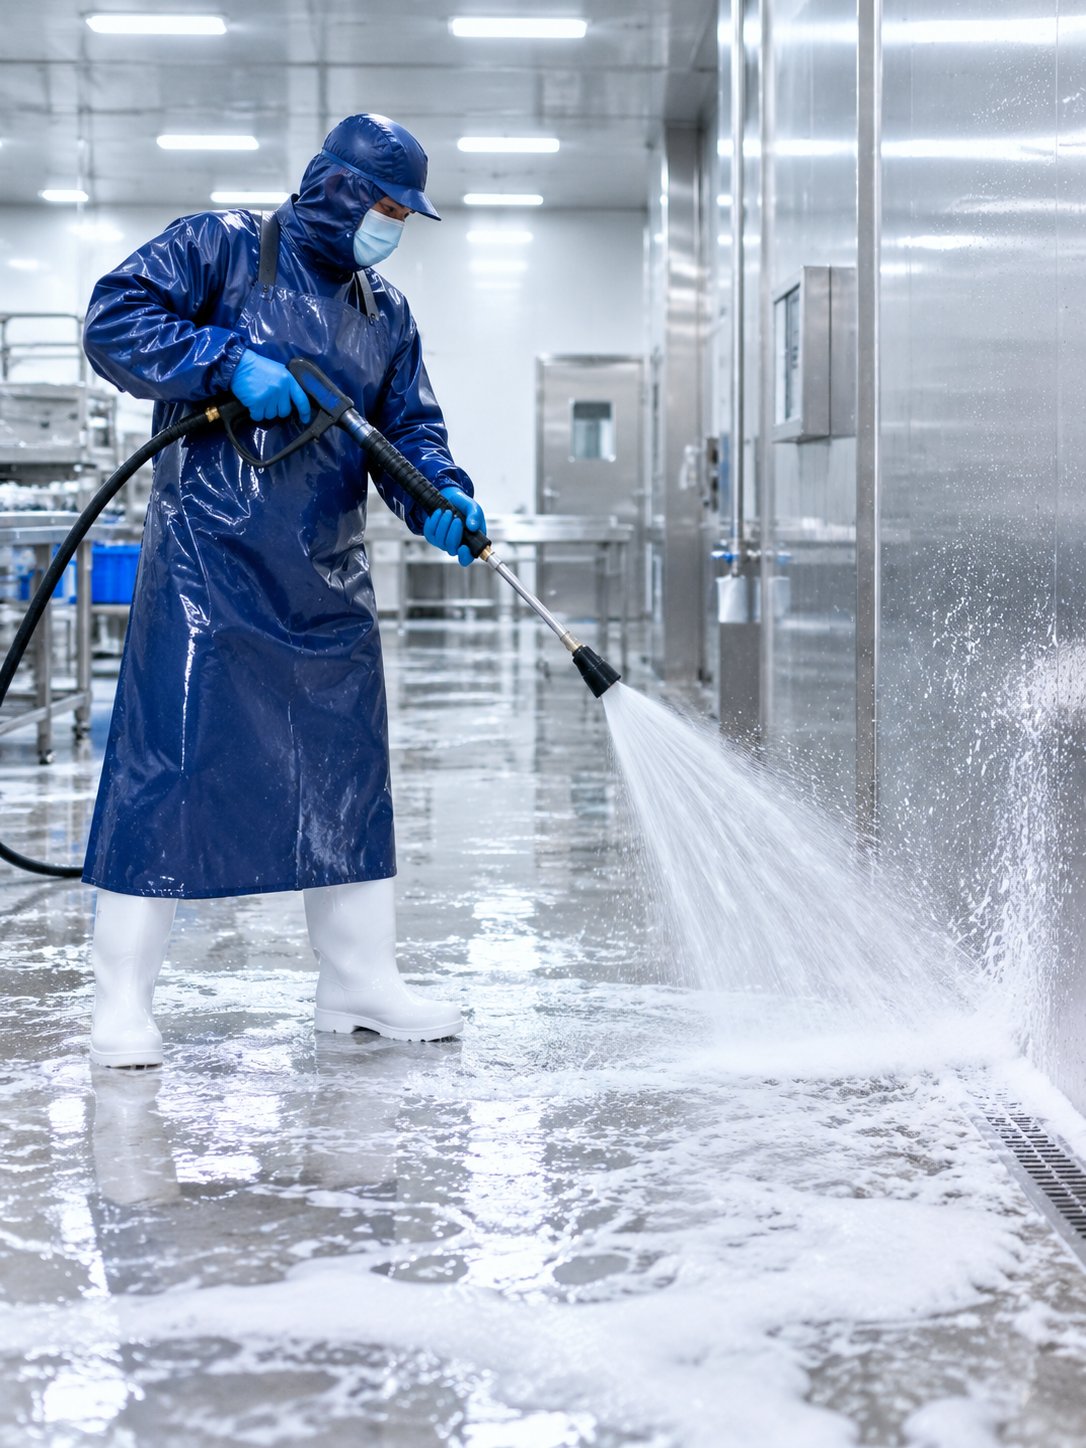 CleaningFood Industry Cleaning Equipment SolutionsFoam, CIP and washdown systems for food-contact surfaces and drains.View solution →