1. Product Overview
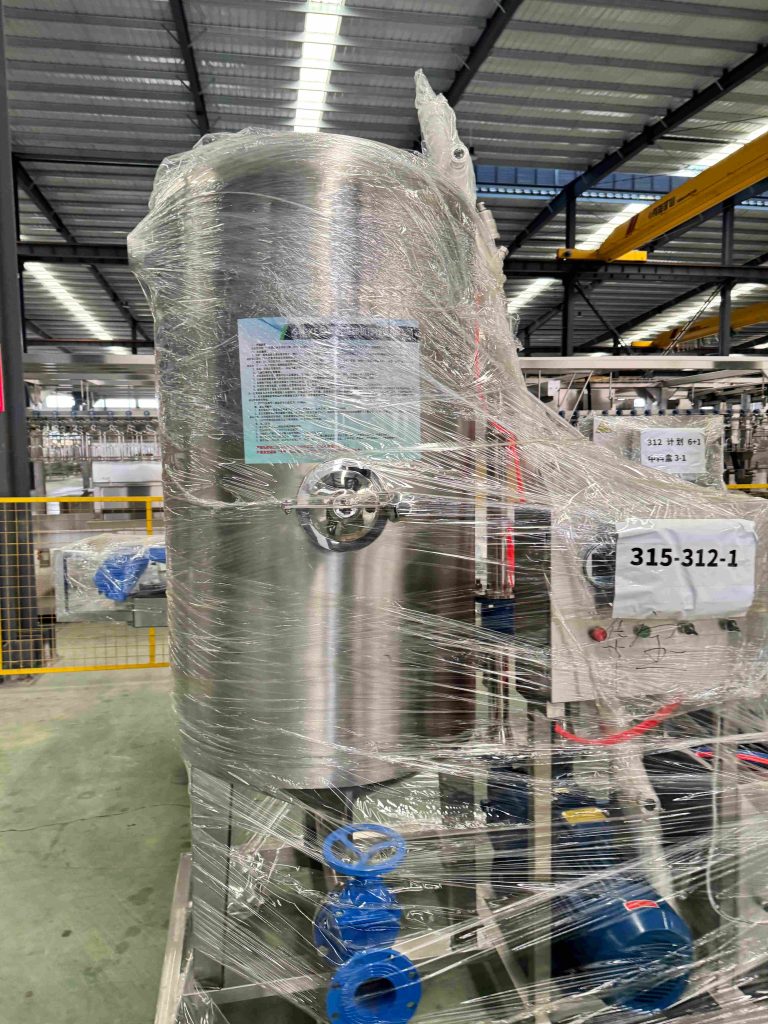
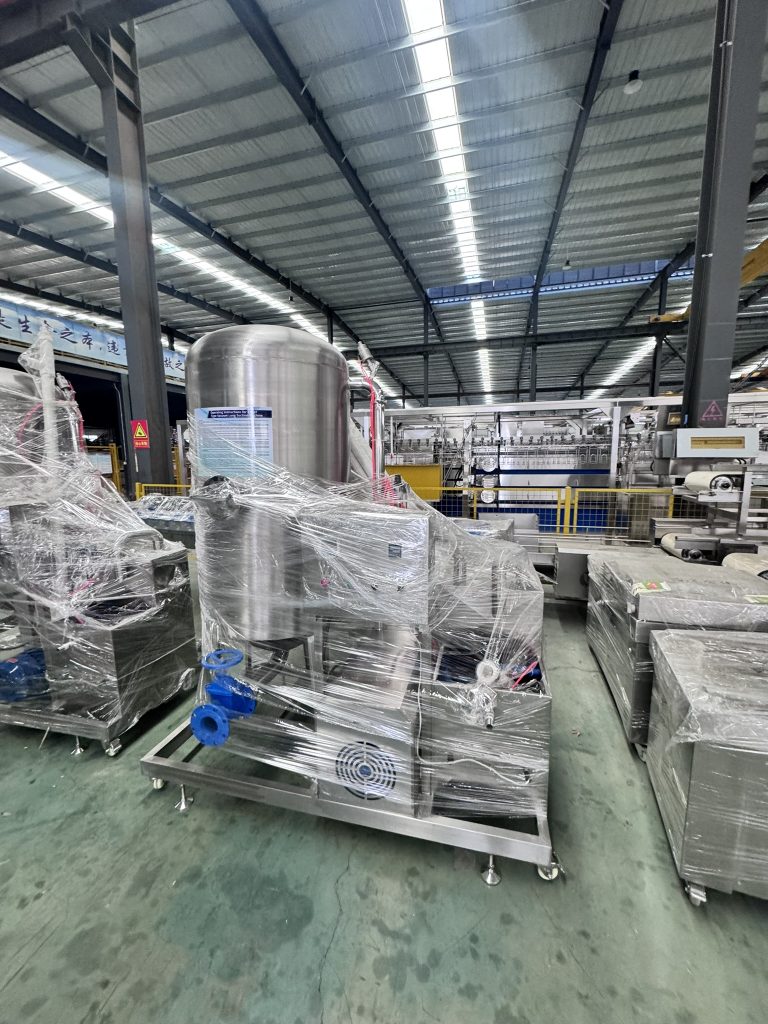
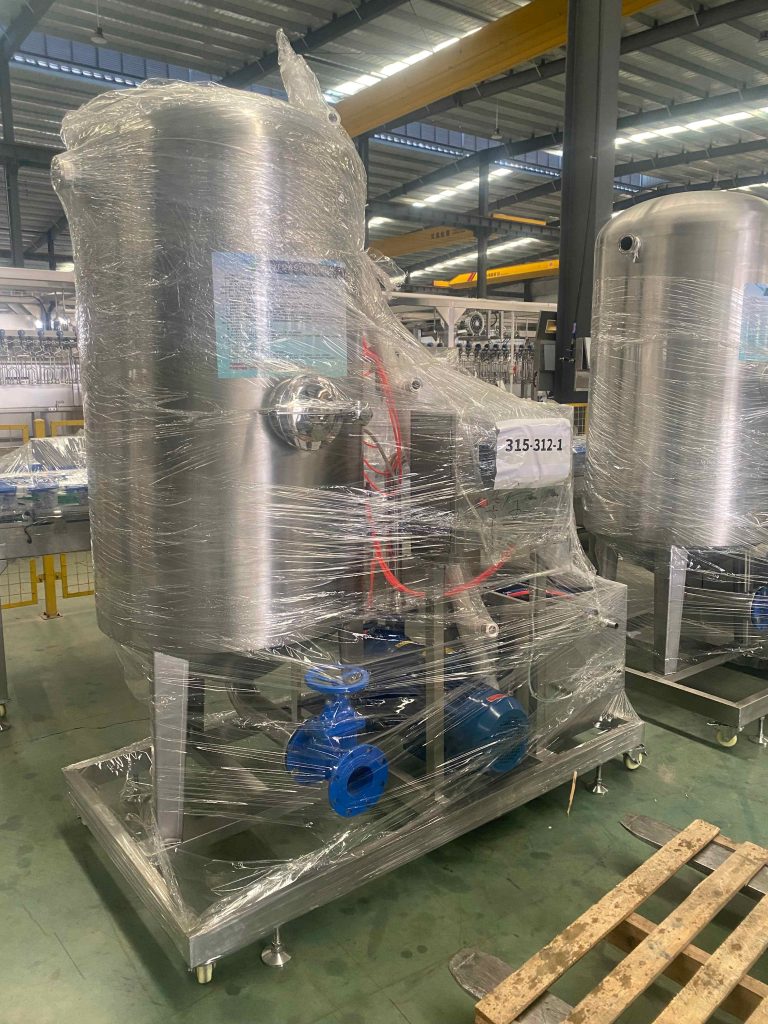
The SM-XF Series Vacuum Lung Remover is a high-efficiency, automated core equipment specifically designed by our factory for modern poultry slaughtering and processing lines. Utilizing an advanced vacuum negative pressure principle, it is dedicated to the precise and thorough removal of residual lung tissues from the carcass thoracic cavity after evisceration. Its design aims to replace the traditional, inefficient, unhygienic, and labor-intensive manual lung removal process. This machine is key to enhancing production line automation, ensuring product hygiene and safety, and improving overall yield.
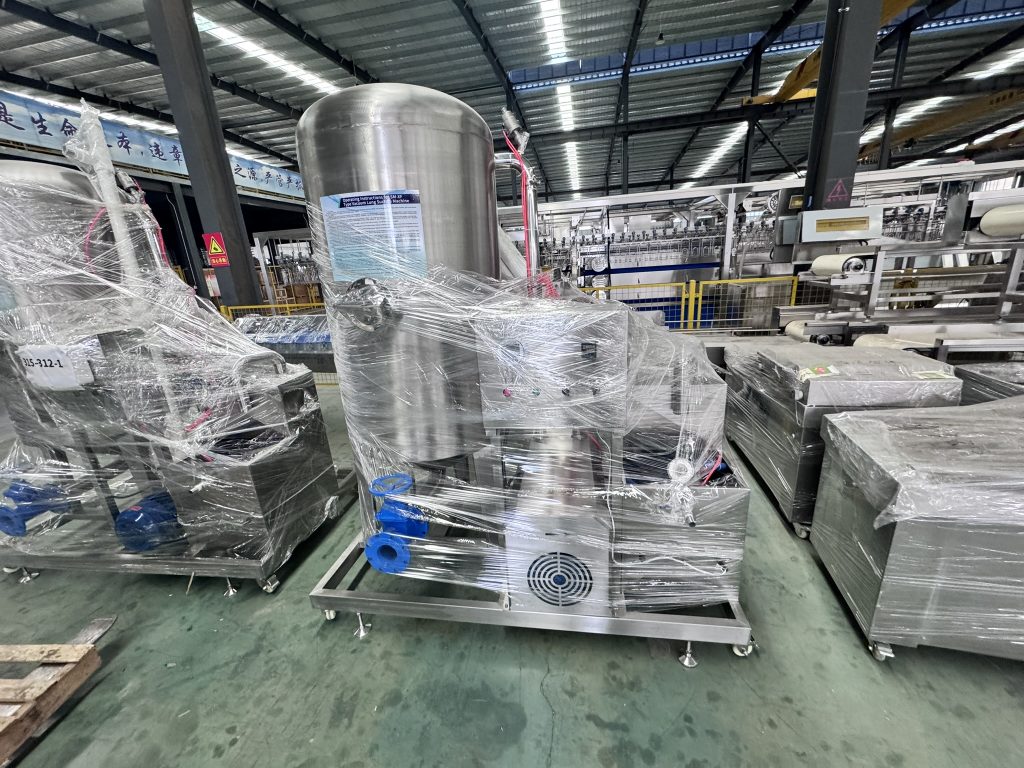
Core Value:
- High Efficiency and Cleanliness: Utilizes vacuum suction for thorough removal, significantly improving carcass cavity cleanliness.
- Stability and Reliability: Industrial-grade vacuum pump and control system ensure continuous production.
- Hygiene and Safety: Enclosed operation reduces cross-contamination, complying with HACCP and other food safety standards.
- Labor Saving and Cost Reduction: A single machine can replace multiple skilled workers, significantly reducing labor costs and intensity.
2. Application Scenarios and Uses
This equipment is primarily used in:
- Broiler/Duck Slaughter Lines: Following automatic evisceration, as a supplementary and deepening step for offal removal, ensuring no lung residue remains in the thoracic cavity.
- Layer/Breeder Processing Lines: Effectively clears lung tissue considering the specific body type and meat characteristics.
- Central Kitchens and Further Processing Plants: Pre-processing for segments requiring high-cleanliness carcasses as raw material, such as poultry segmentation and cooked food processing.
Addressing Pain Points: Manual lung removal is inefficient, inconsistent, prone to carcass damage, poses hygiene risks, and is constrained by labor availability and costs. The SM-XF Vacuum Lung Remover effectively solves these problems.

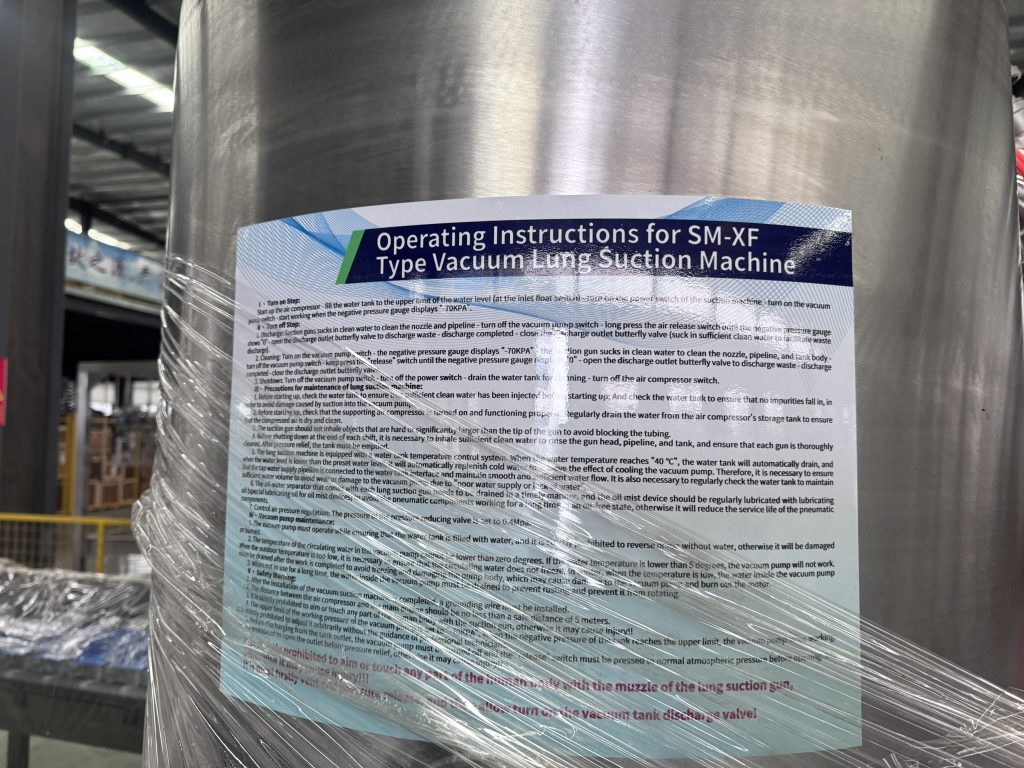
3. Detailed Operating Instructions
Pre-Operation Preparation
- Safety Check: Confirm the equipment is properly grounded. Check that power and air supply connections are secure.
- Utility Medium Check:
- Water Source: Open the equipment water inlet valve, check the water tank level. Must ensure sufficient clean cooling/sealing water is filled. Operation without water is strictly prohibited!
- Air Source: Check if the supporting air compressor is started and working normally. Confirm the compressed air supply to the equipment has stable pressure at 0.4 MPa (adjusted via the pressure reducing valve).
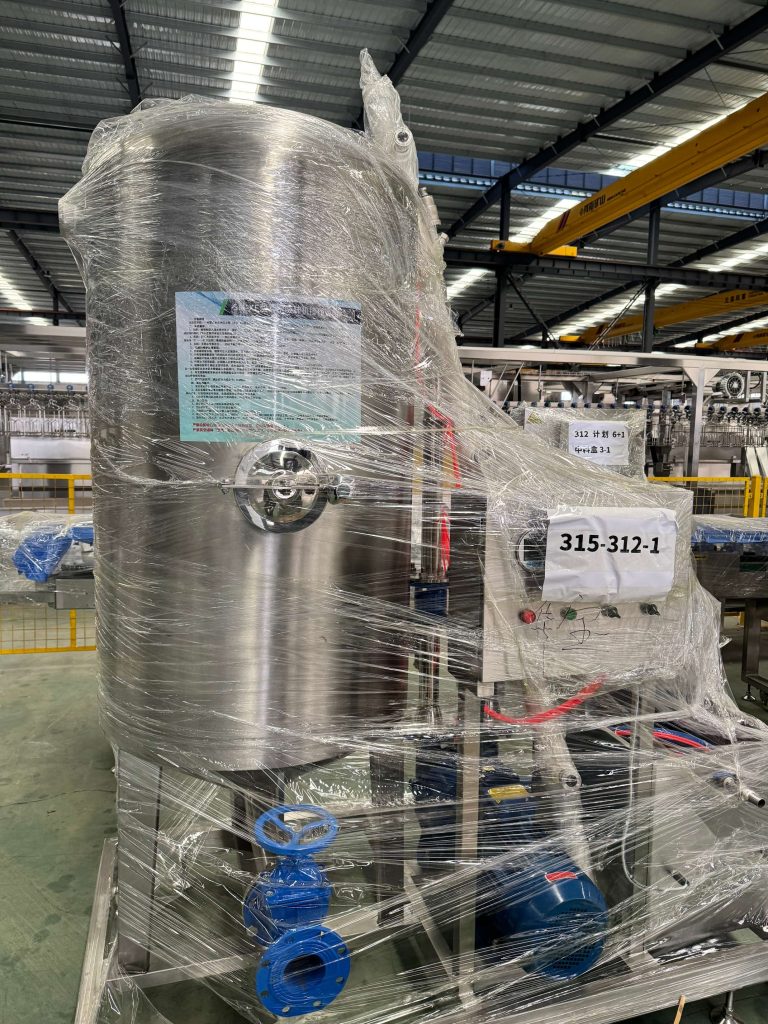
- Equipment Status Check:
- Check that the vacuum gun, hoses, tank outlet valve are intact and tightly connected.
- Check that the air filter/water separator has been drained, and the lubricator has sufficient oil.
- Clear debris near the water tank to prevent ingestion.
Standard Operating Procedure
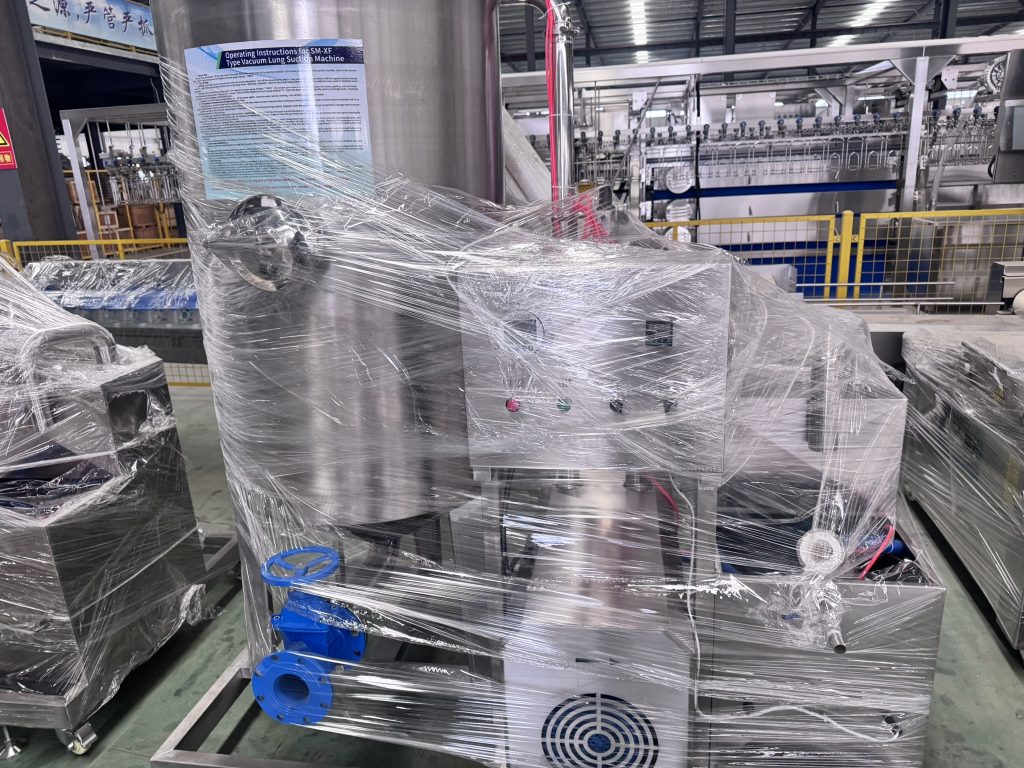
(I) Startup and Production Operation
- Turn on the Main Power Switch, press the “Start” button on the control panel.
- Start the Vacuum Pump:
- Press the “Vacuum Pump Start” switch.
- Observe the Vacuum Gauge; the needle should rise steadily.
- Establish Working Vacuum:
- When the vacuum gauge reading reaches “-70 kPa” (equipment preset upper limit, the vacuum pump may stop automatically), the system enters standby mode.
- Perform Lung Removal Operation:
- The operator holds the suction gun, aligning the nozzle with the lung area inside the carcass thoracic cavity.
- Upon sensing demand, the vacuum pump starts automatically, suctioning the lung tissue.
- Never point the suction gun nozzle at or contact any part of the human body!
- In-process Cleaning (Per shift or as needed):
- Immerse the suction gun in clean water, suction water to flush the gun head and internal lines.
- Turn off the vacuum pump switch.
- Press and hold the “Vent” switch until the vacuum gauge returns to “0”.
- Open the Outlet Valve to discharge wastewater and residue from the lines and tank into the drain.
- After discharging, close the outlet valve.
(II) Shutdown Procedure
- End Production: Stop feeding carcasses.
- System Cleaning (Crucial):
- Suction sufficient clean water to thoroughly flush the gun head, lines, and vacuum tank.
- Ensure every suction gun is flushed.
- Draining and Depressurization:
- Turn off the “Vacuum Pump” switch.
- Press and hold the “Vent” switch, ensuring the vacuum gauge completely returns to “0”.
- (Key Safety Step) Only after confirming zero pressure inside the tank, open the outlet valve to discharge all wastewater and residue from the tank.
- Turn Off Equipment:
- Close the outlet valve.
- Turn off the “Air Compressor” switch (or confirm the air source is shut off).
- Press the “Stop” button on the control panel, turn off the main power switch.
- Drain Water Tank: Open the water tank drain valve to empty the internal circulating water, especially in winter or during extended equipment idling.
Key Operating Precautions
- Safety First:
- Strictly prohibit opening the outlet valve before the tank is depressurized (vacuum not zero)!
- Strictly prohibit pointing the suction gun at people!
- The air compressor should be kept at a safe distance of at least 5 meters from the main unit.
- Operation Monitoring:
- Pay attention to the water tank temperature control system prompts, ensure normal cooling water supply, and avoid excessively high water temperature.
- Listen for unusual noises from the vacuum pump; stop immediately for inspection if any are detected.
- Material Restrictions: Strictly prohibit suction of hard foreign objects or objects significantly larger than the gun nozzle diameter to prevent clogging or damage to the lines.
4. Maintenance and Service Guide
Regular maintenance is the cornerstone of long-term stable equipment operation.
Daily Maintenance (Each Shift)
- Cleaning: Follow the shutdown procedure to thoroughly flush the gun head, lines, and tank with clean water.
- Draining: Drain condensate from the air compressor tank and air filter/water separator.
- Inspection: Check the lubricator oil level, add special lubricating oil if necessary.
- Rounds Inspection: Check all air/water/vacuum hose connections for leaks.
Weekly/Regular Maintenance
- Check Seal Integrity: Inspect the sealing performance of the vacuum line system, replace seals if necessary.
- Clean Filters: Clean or replace the water filter element and air line filter element.
- Component Inspection: Check the suction gun head for wear, inspect all valves for flexible and reliable operation.
Long-Term Storage and Seasonal Maintenance
- Winter Freeze Protection: When the ambient temperature may fall below 5°C, it is mandatory to drain all residual water from the water tank, vacuum pump, and all lines to prevent freezing and cracking. The vacuum pump protection system will prevent startup if water temperature is below 5°C.
- Long-Term Storage: If the equipment will be idle for an extended period, drain all internal water, wipe dry key components, apply anti-rust oil, disconnect all water, electricity, and air supplies, and cover with a dust cover.
System-Specific Maintenance
- Vacuum Pump: Strictly prohibit reverse rotation and dry running without water. Perform inspections and maintenance regularly as required by the pump manual.
- Water Tank Temperature Control System: Ensure the system’s sensors are sensitive and effective, capable of automatic water drainage at temperatures exceeding 40°C, and automatic low-level water replenishment.
- Pneumatic System: Ensure the pressure reducing valve maintains stable pressure at 0.4MPa, guaranteeing stable operation of pneumatic components.
Disclaimer: This manual is for reference only. Please refer to the actual equipment labels and the final version of technical documents provided by our factory for specific operations. Equipment modification and parameter adjustments must be performed by our factory’s professional technicians. Operators must undergo strict training before starting work.